How to add a user
Create a client account by hand — for someone who paid you outside the panel, or a reseller you are setting up.
A typo in the email means the client never receives a confirmation or a password reset, and you will be the one fixing it later.
What it controls
- create a client account without the client signing up
- set their login details yourself
- mark the address confirmed immediately
How to set it
- Open Users and click Add user in the toolbar. The New User dialog opens with Email, Username, Password, Debt Status and Email Verified.

The Add user button in the Users toolbar. - Fill Email — this is both the login and where every panel mail goes. Check the domain twice.
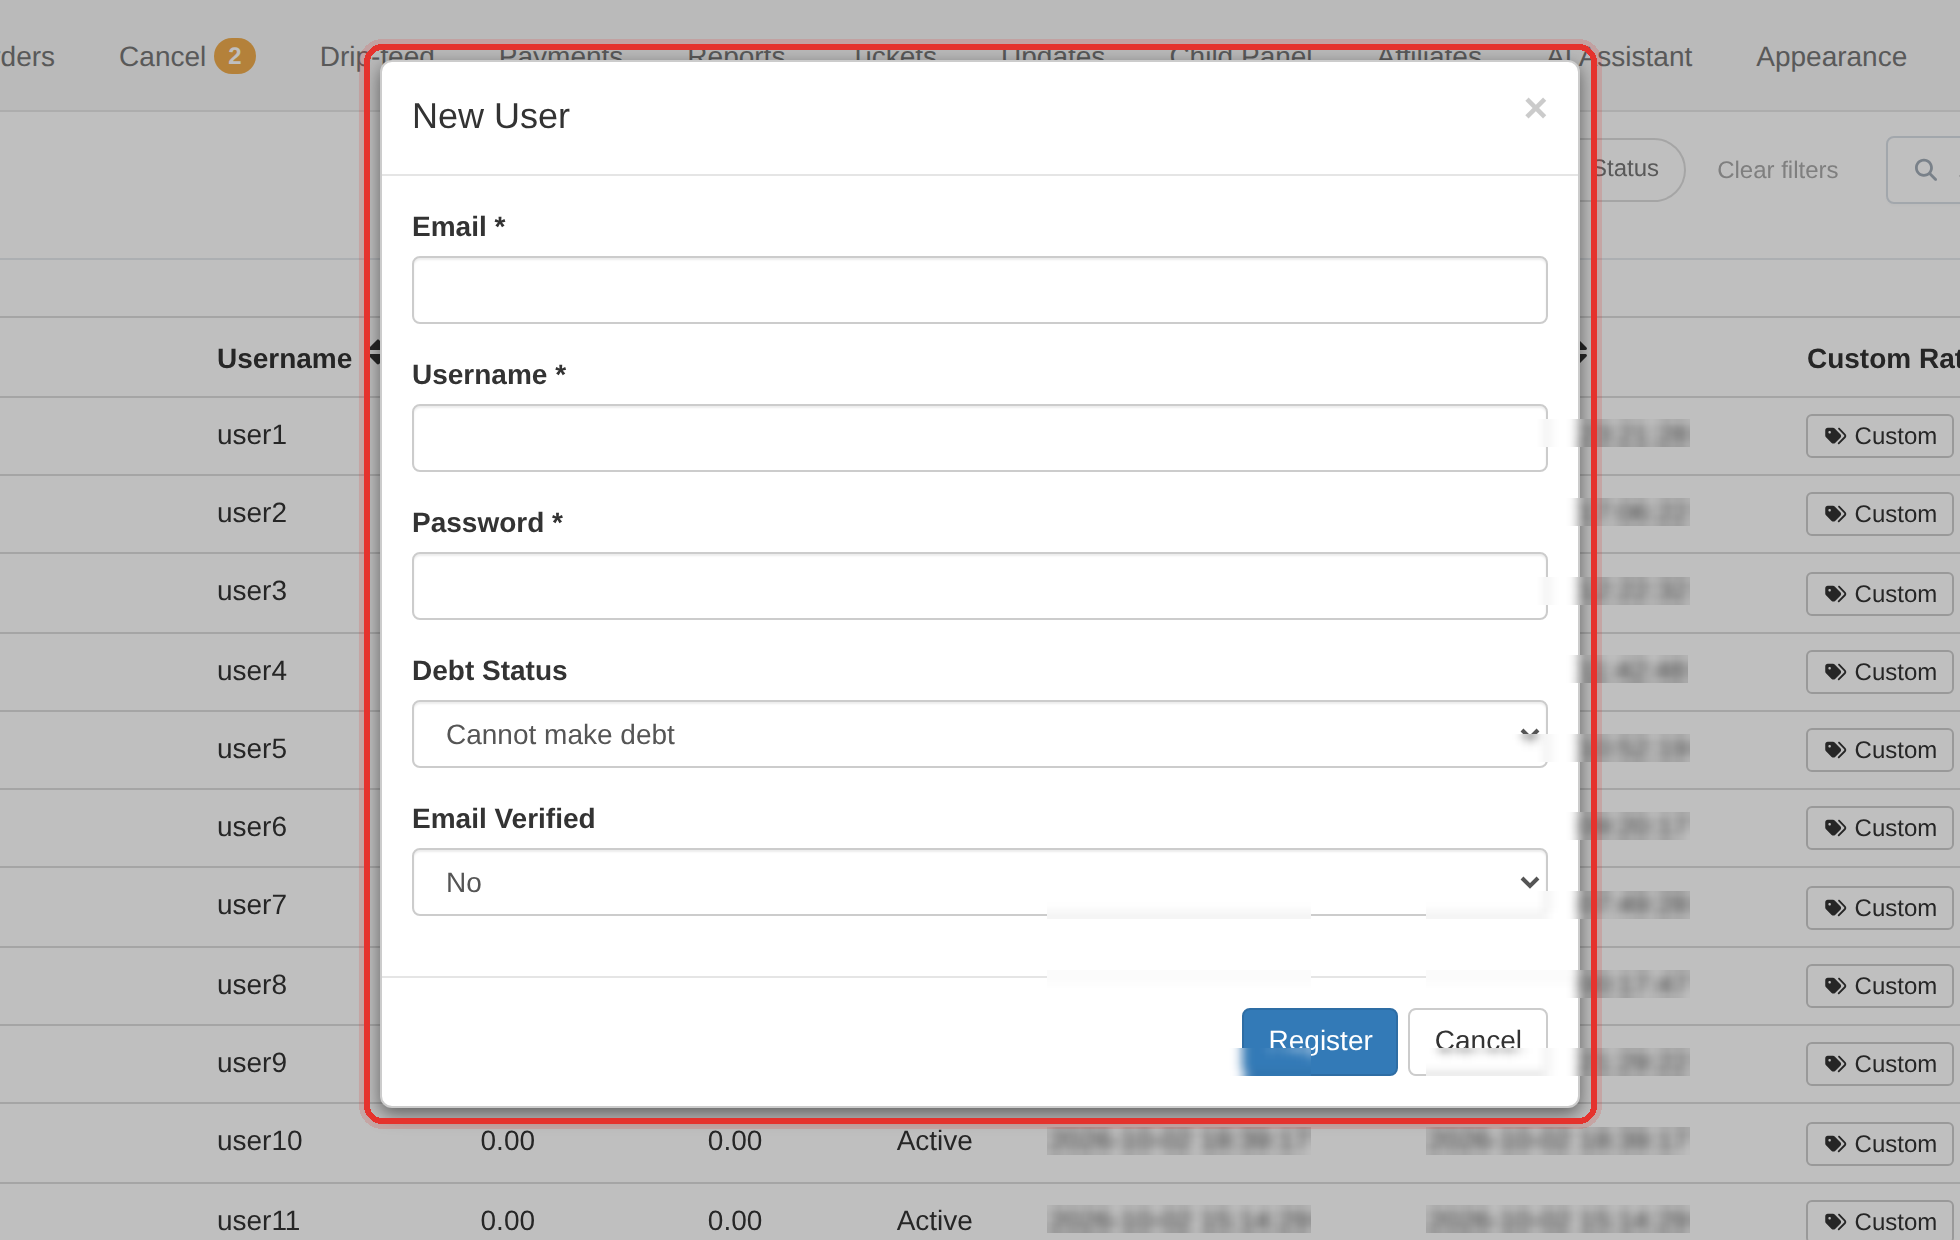
The New User dialog, with its five fields. - Fill Username — it must be unique on the panel; the server rejects a duplicate.
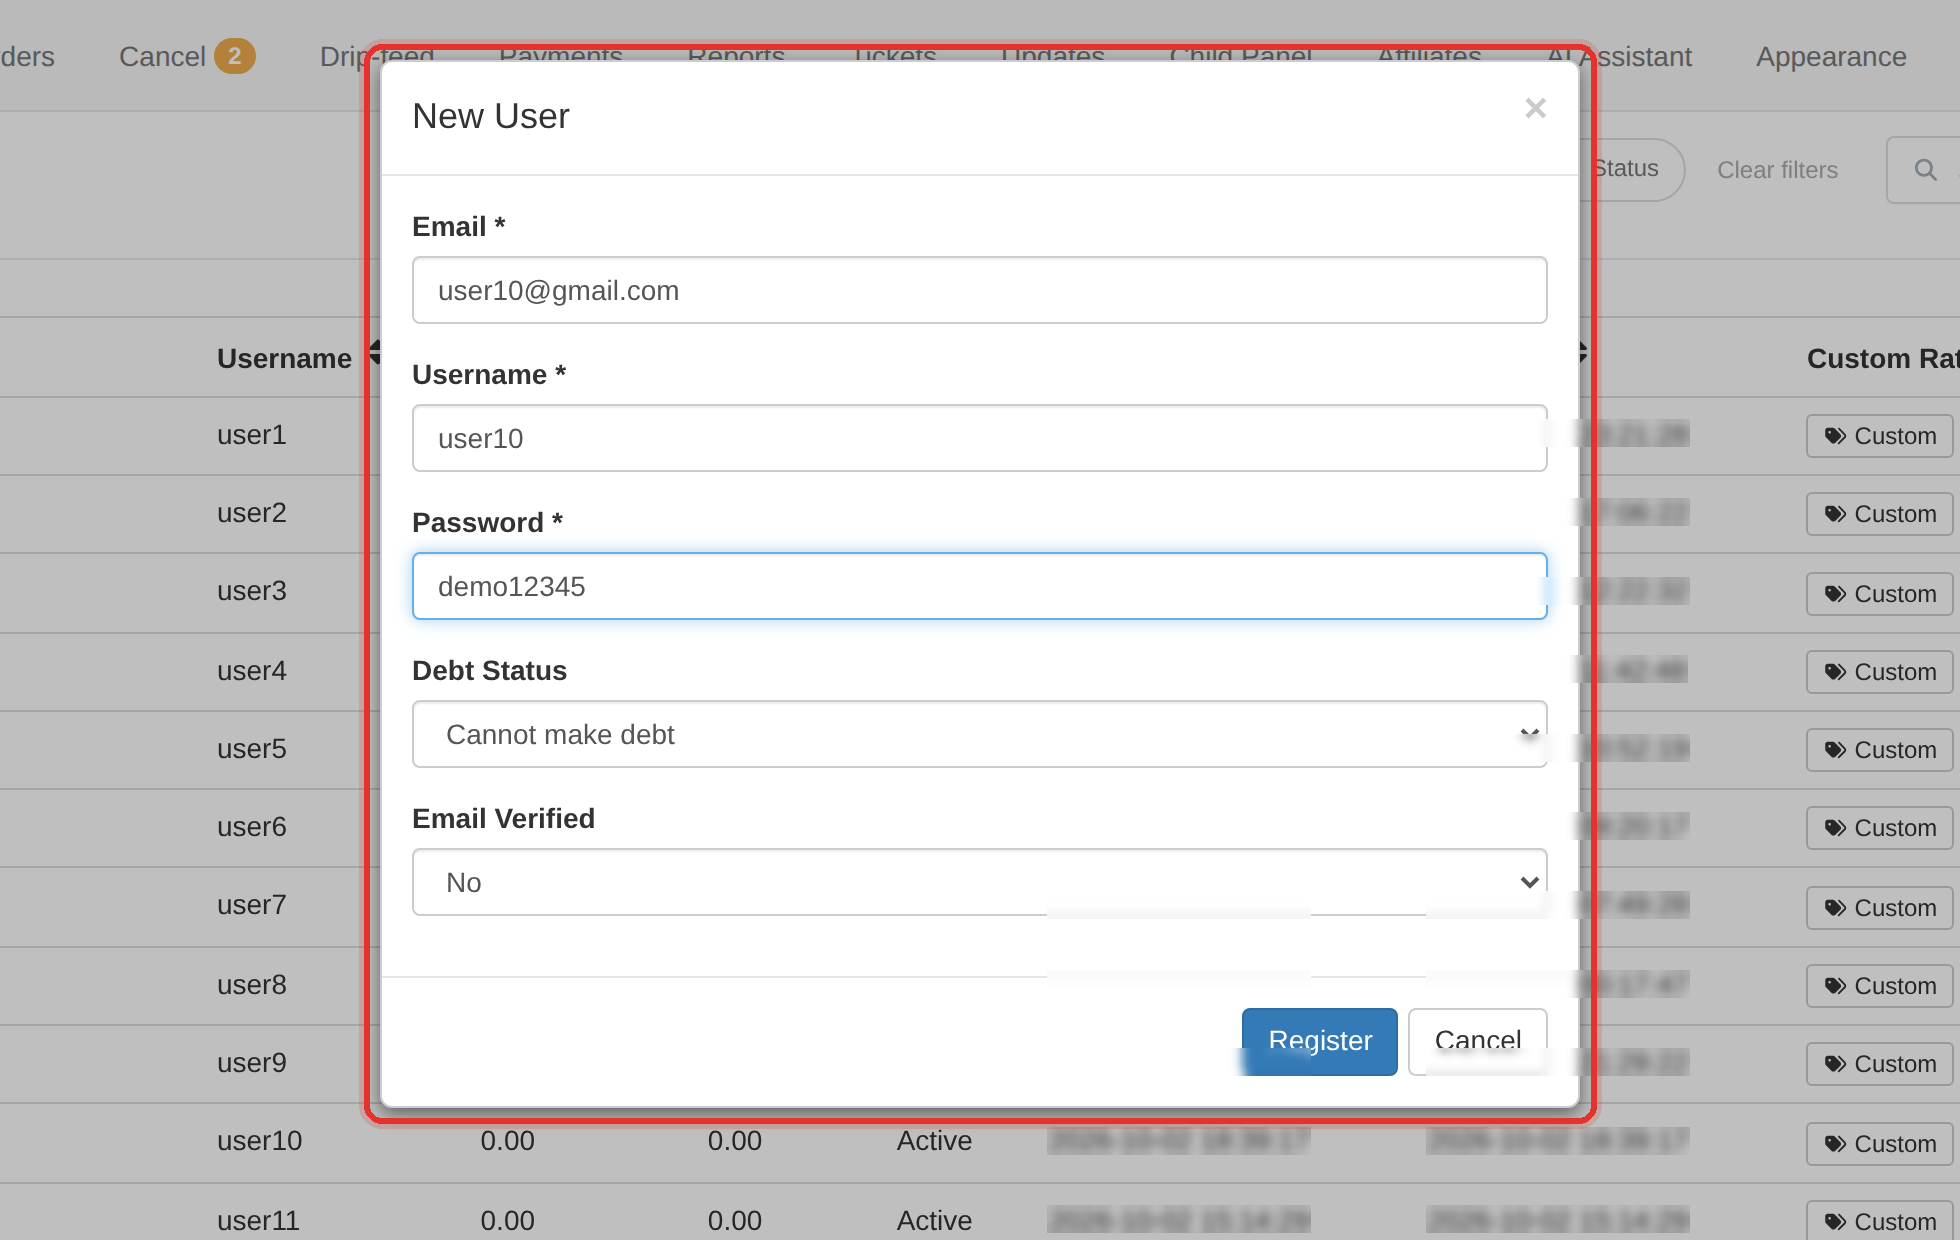
Filled in — email, username and password are the required three. - Fill Password — at least 8 characters. You will hand it to the client over a channel you trust.
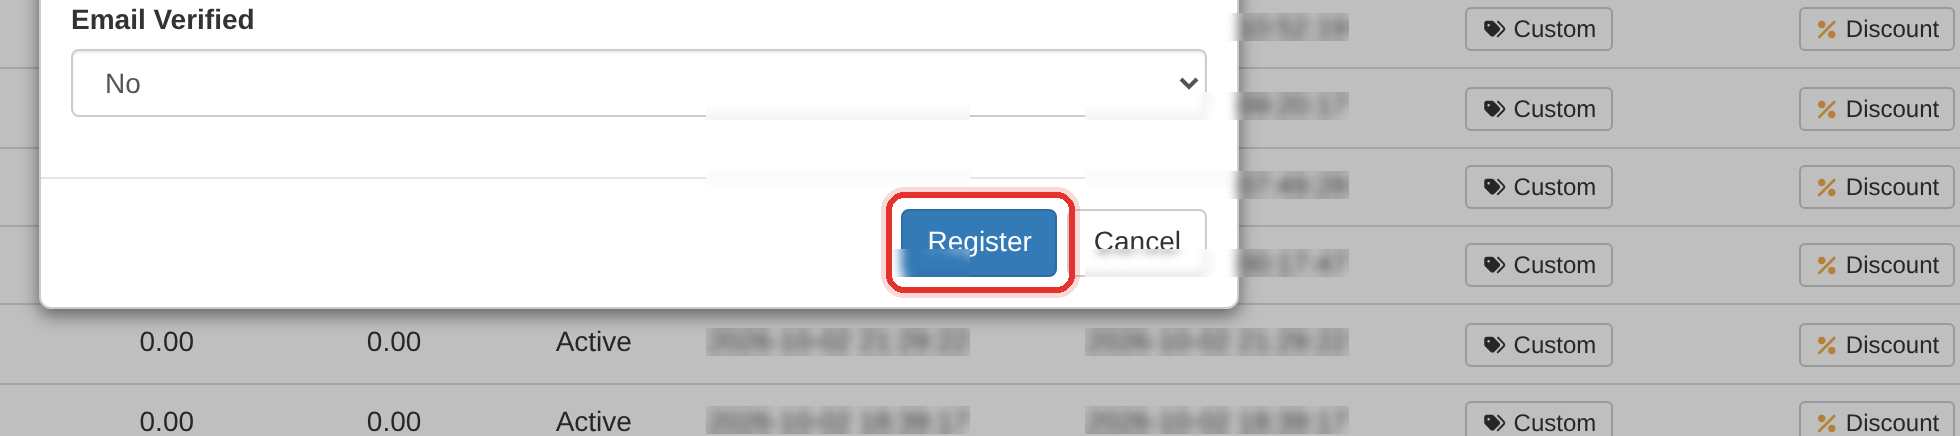
Press Register to create the account. - Leave Debt Status at Cannot make debt. Set Email Verified to Yes if you already know the address is good.
- Press Register. The dialog closes and the client appears at the top of the list with the highest ID.
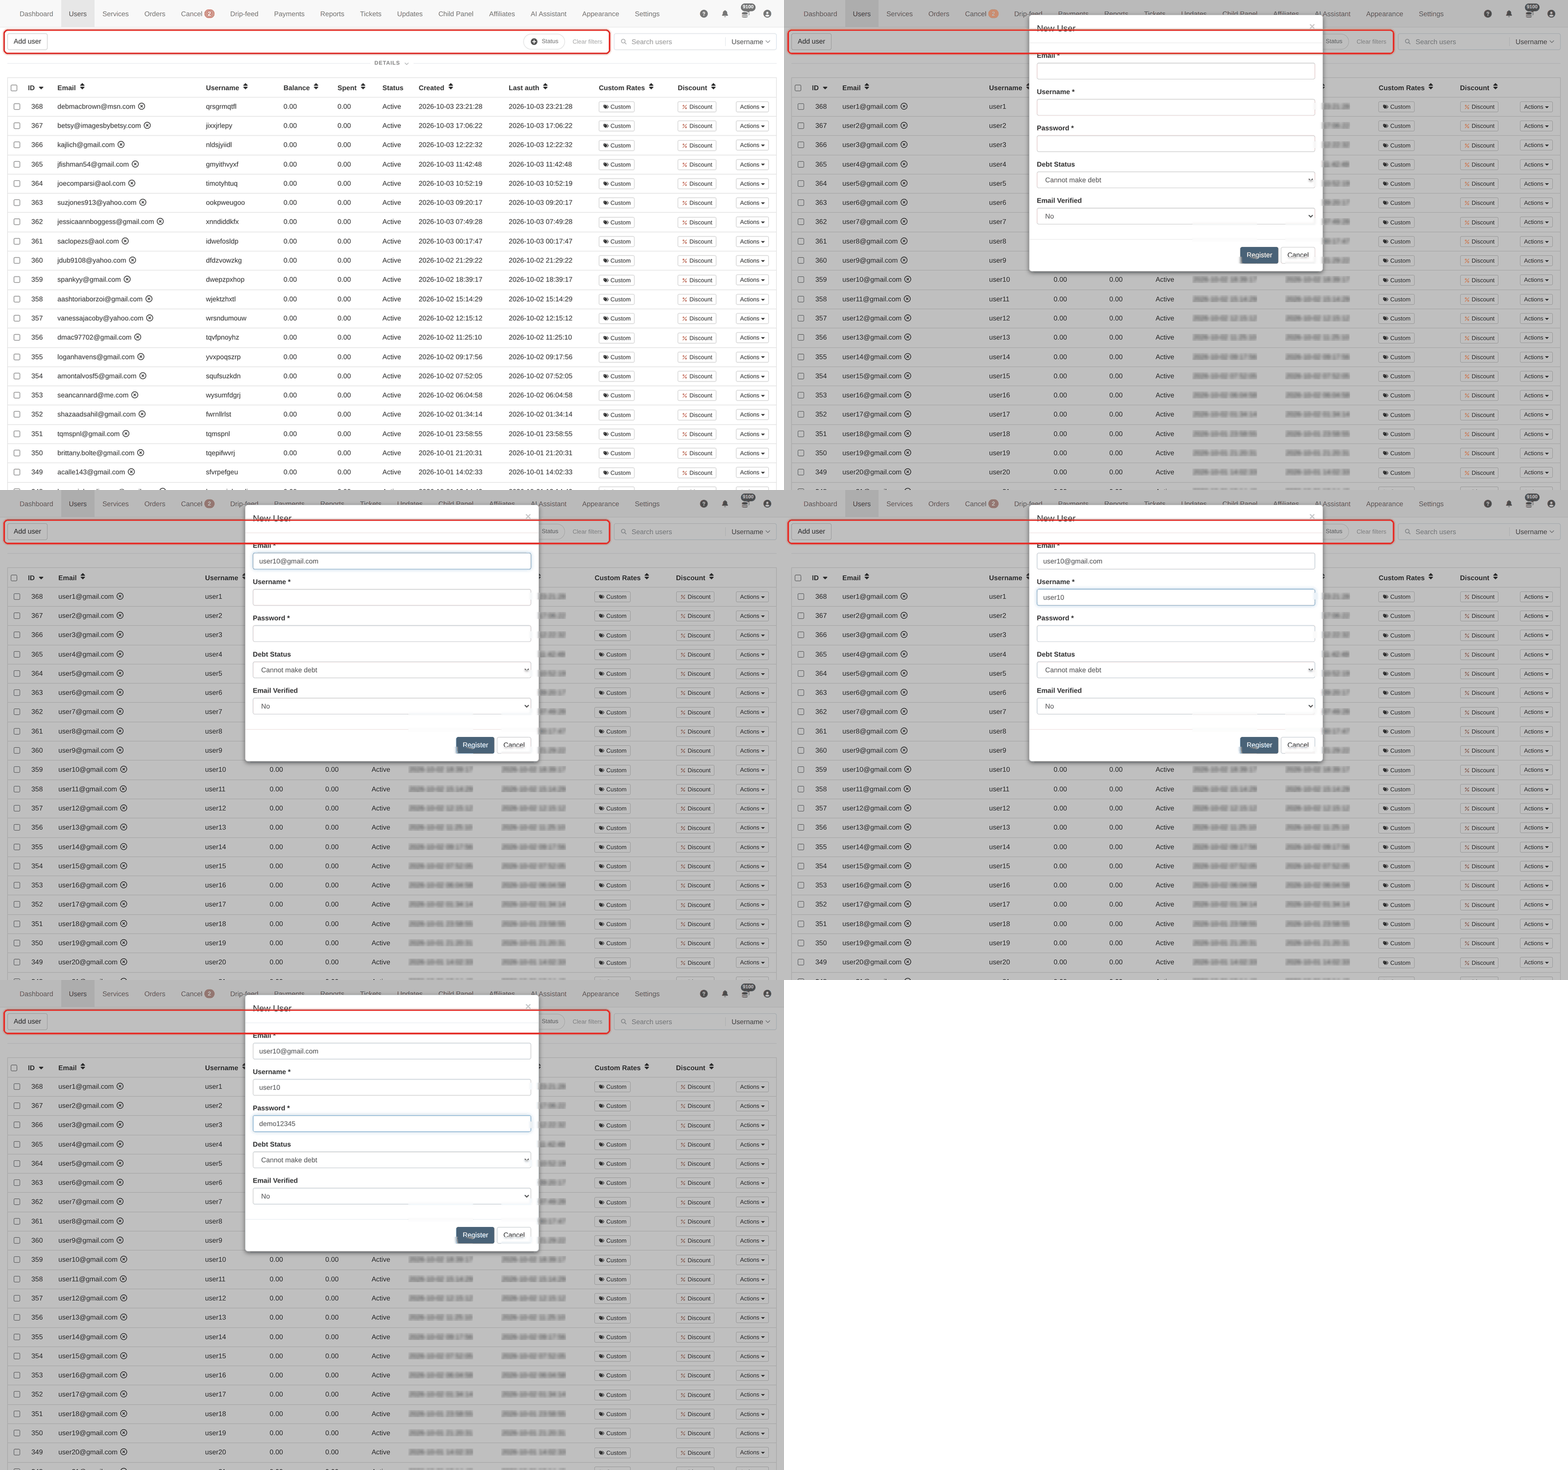
Email Verified on skips the confirmation mail entirely and marks the account confirmed from the start. Use it when the client gave you the address directly.
Nothing is created until you press Register. Closing the dialog with Cancel or Esc discards everything you typed.
To learn more, see the Users guide.